
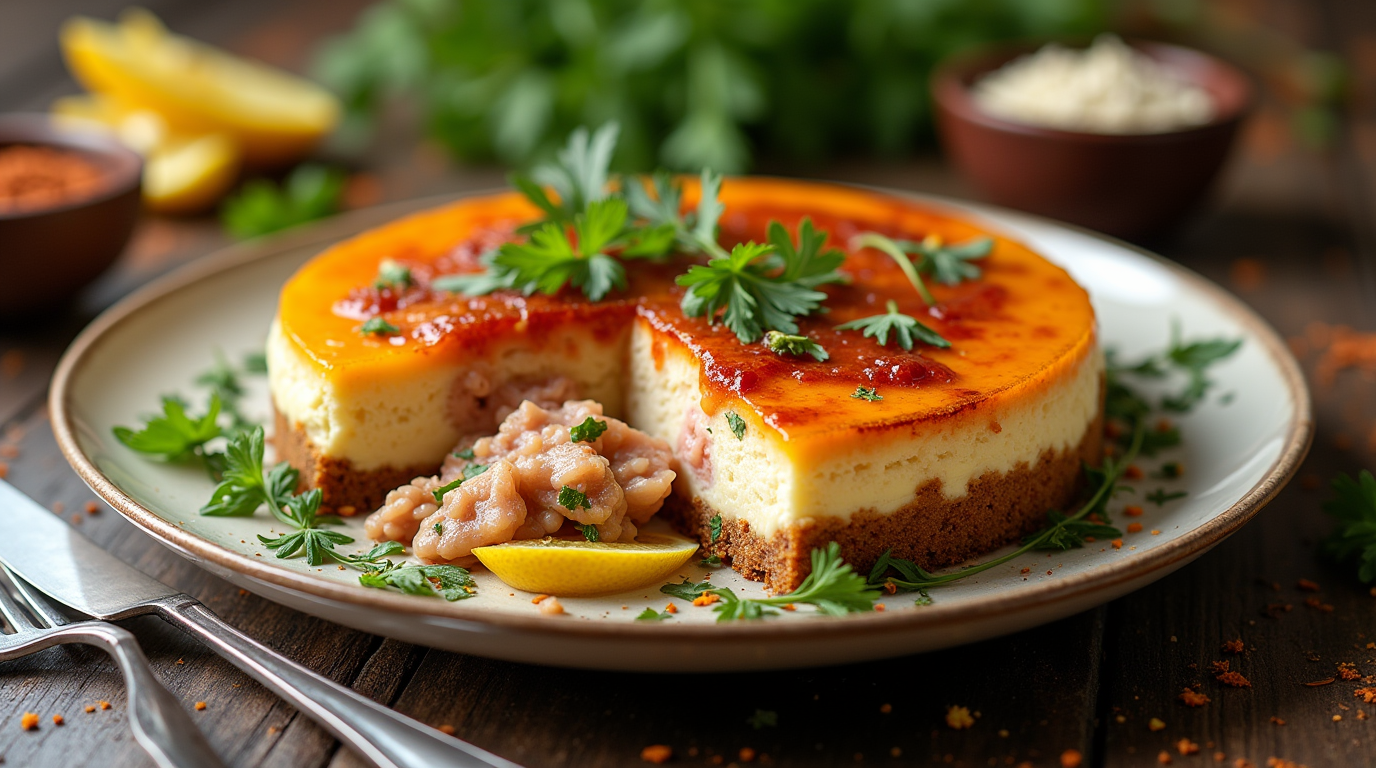
The Ultimate Cheesecake Recipe: Creamy, Perfect, No Water Bath Required
Creating the perfect cheesecake has long been considered a culinary challenge that intimidates even experienced home bakers. Many recipes call for complicated techniques like water baths, which can be messy and difficult to execute properly. After years of testing and perfecting, I’m thrilled to share what I confidently call the best cheesecake recipe you’ll ever try – one that delivers spectacular results without the fuss of a water bath.
Table of Contents
What Makes This Cheesecake Special?
This isn’t just any cheesecake recipe. Through countless hours in the kitchen and meticulous testing, I’ve developed a foolproof method that yields a cheesecake with the perfect balance of richness and lightness. The texture is smooth, creamy, and velvety, sitting atop a crisp homemade graham cracker crust that provides the ideal textural contrast.
Cheesecake Recipe
Best of all, this recipe eliminates the intimidating water bath step that causes so many home bakers to avoid making cheesecake altogether. Instead, I’ve incorporated specific techniques and careful temperature control that ensure your cheesecake turns out crack-free and perfectly creamy every time.
Essential Tips for the Perfect Cheesecake
Room Temperature Ingredients Are Non-Negotiable
The foundation of a smooth cheesecake begins before you even start mixing. Bringing your cream cheese to room temperature isn’t just a suggestion—it’s absolutely essential. Cold cream cheese will never fully incorporate, leaving you with a lumpy texture that’s impossible to fix once baked.
In fact, all ingredients should be at room temperature for optimal results. This includes eggs, sour cream, and even the cream cheese. Allow at least 1-2 hours for everything to come to proper temperature before beginning.
Handle Eggs With Care
One of the most common mistakes in cheesecake preparation is over-beating the eggs. This seemingly minor error can completely alter your cheesecake’s texture and lead to cracks during baking.
For perfect results, lightly scramble each egg before adding it to your mixture. Use your mixer on low speed only, and stop mixing as soon as the egg is incorporated. Pause frequently to scrape down the sides of your bowl, ensuring everything blends evenly without over-mixing.
Keep That Oven Door Closed
Patience is truly a virtue when baking cheesecake. Opening the oven door during baking is a recipe for disaster. Even a quick peek can cause a drastic temperature drop that disrupts the baking process, potentially leading to uneven cooking, sinking centers, or cracking.
Resist the temptation to check on your creation until it’s nearly done baking. Trust the process and the timing provided in the recipe. Your patience will be rewarded with a perfectly textured dessert.
Free Your Crust After Baking
Here’s a pro tip many recipes miss: after baking, allow your cheesecake to cool for about 10 minutes on the stovetop, then run a thin knife around the inside edge of your springform pan. This crucial step detaches the crust from the sides of the pan.
Why is this important? As your cheesecake cools, it naturally contracts slightly. If the crust remains stuck to the pan during this process, the tension can cause cracks to form. This simple 30-second step can make all the difference in preserving your cheesecake’s perfect appearance.
Cool Gradually Before Refrigerating
Dramatic temperature changes are the enemy of crack-free cheesecakes. Allow your masterpiece to cool gradually at room temperature before transferring it to the refrigerator. I find placing it on top of the cooling oven provides the perfect environment for this step.
This pre-chilling cooling period might take an hour or two, but it’s time well spent. Rushing this process by immediately refrigerating a hot cheesecake often results in those dreaded surface cracks that detract from your beautiful creation.
Storage and Freezing Tips
Always store your finished cheesecake in the refrigerator. For the best presentation and to prevent the top from drying out, I recommend keeping the springform ring in place and covering the top loosely with aluminum foil.
Remember that cheesecake should never sit at room temperature for more than 4 hours, and even less time in hot or humid conditions. When properly stored in the refrigerator, your cheesecake will remain fresh for up to 5 days.
A wonderful aspect of this recipe is how well it freezes. After cooling completely and chilling in the refrigerator, wrap your cheesecake thoroughly in plastic wrap followed by aluminum foil. Properly wrapped, it will keep beautifully in the freezer for several months without losing quality.
To thaw, simply transfer from freezer to refrigerator and allow it to thaw overnight. The result is nearly indistinguishable from freshly made cheesecake!
Delicious Variations to Try
Once you’ve mastered this classic version, consider experimenting with these popular variations:
- Oreo Cheesecake: Incorporate crushed Oreos into the filling and substitute an Oreo crust for an indulgent chocolate twist.
- Pumpkin Cheesecake: Perfect for fall gatherings, adding pumpkin puree and warm spices creates a seasonal favorite.
- Chocolate Cheesecake: For chocolate lovers, adding melted semi-sweet chocolate to the batter creates a decadent dessert that’s impossible to resist.
The classic recipe also pairs beautifully with fresh berries, caramel drizzle, or chocolate ganache for endless serving possibilities.
The Recipe: Perfect Cheesecake Without a Water Bath
Ingredients
For the Graham Cracker Crust:
- 1½ cups graham cracker crumbs (170g)
- 2 tablespoons granulated sugar
- 1 tablespoon brown sugar
- 7 tablespoons butter, melted
For the Cheesecake Filling:
- 32 oz brick-style cream cheese, softened to room temperature
- 1 cup granulated sugar (200g)
- ⅔ cup sour cream (160g)
- 1½ teaspoons vanilla extract
- ⅛ teaspoon salt
- 4 large eggs, room temperature and lightly beaten
Equipment Needed
- 9-inch springform pan
- Large mixing bowls
- Hand or stand mixer
- Measuring cups and spoons
Instructions
- Prepare your oven and pan: Preheat your oven to 325°F (160°C). Ensure all ingredients are at room temperature.
- Make the graham cracker crust: In a medium bowl, combine graham cracker crumbs with both sugars and mix well. Add melted butter and stir until all crumbs are moistened. Press the mixture firmly into the bottom and about 1 inch up the sides of your springform pan. Set aside.
- Prepare the filling: In a large bowl, beat the softened cream cheese until completely smooth (about 2-3 minutes). Add sugar and beat until the mixture is creamy. Add sour cream, vanilla extract, and salt, mixing until well combined. Remember to scrape the bowl frequently.
- Add eggs carefully: With mixer on low speed, add the lightly beaten eggs one at a time, mixing just until each is incorporated. Over-mixing at this stage can lead to a compromised texture and cracks.
- Bake with care: Pour the batter into your prepared crust. Place the springform pan on a foil-lined baking sheet to catch any potential leaks. Bake on the middle rack at 325°F for 50-60 minutes. The cheesecake is done when the edges are slightly puffed and light golden, while the center should still have a slight jiggle.
- Cool properly: Remove from oven and place on stovetop to cool for 10 minutes. Run a thin knife around the edge to free the crust, then let cool at room temperature for 1-2 hours. Finally, transfer to the refrigerator and chill for at least 6 hours or overnight before serving.
Remember that baking times may vary depending on your oven and the temperature of your ingredients when you begin. The cheesecake is done when it still has a slight wobble in the center – it will continue to set as it cools.
Follow these carefully tested techniques, and you’ll create a cheesecake that rivals any gourmet bakery – without the hassle of a water bath. Happy baking!


2 Comments